I hope you are all well. It has been a really busy couple of weeks at LE Designs HQ with orders coming in for various different cards, the launch of my 2015 collection and some rather exciting news coming soon…..
Back to today's blog post though. I hope you enjoyed my review last week of the Uniko Studio 'A Gift for You' stamp set. This really is a versatile little set that I would highly recommend. Today, I'm going to be looking at an idea that might make things a little easier in your craft room.
I don't know about you, but I always tend to concentrate on the images of my card first and then decide which sentiment to use. It can sometimes take time to find the right one though as often you have multiple 'Happy Birthday' sentiments. Often too, I know which one I want, but trying to find which stamp set has that 'one' in, is a search! I have come up with a solution to both of these problems.
Last time I did a craft room idea which was the CD boxes turned stamp storage, I told you to keep the printed acetate sheets from the stamps sets….well this is why. I wanted to create 'sentiment reference cards.'
I started off with the remaining pieces of card from the squares used in my CD (now stamp) boxes. I cut rectangles 5cm x 12cm.
I then did the same with acetate sheets -
I did a search of my scraps box and found some various colours of card which I cut at 5cm x 14cm.
It was time to then gather together the printed acetate sheets I had -
I began with one type of sentiment 'Birthdays' and working my way through the sheets, cut out any birthday sentiments.
As each was cut, I then attached it with tape on to one of the acetate rectangles and on a card rectangle, wrote the stamp company/set this sentiment came from.
Now as you will see, this only works so simply for the companies that have printed acetate sheets with their stamps. I wanted to do this with all my stamps and so for the others, I embossed the stamps on to the acetate. I used my Woodware Anti-static pad which helped a little with the static, but acetate is a nightmare!!!
I then punched a hole in the corner of all the layers ready to put a ring through.
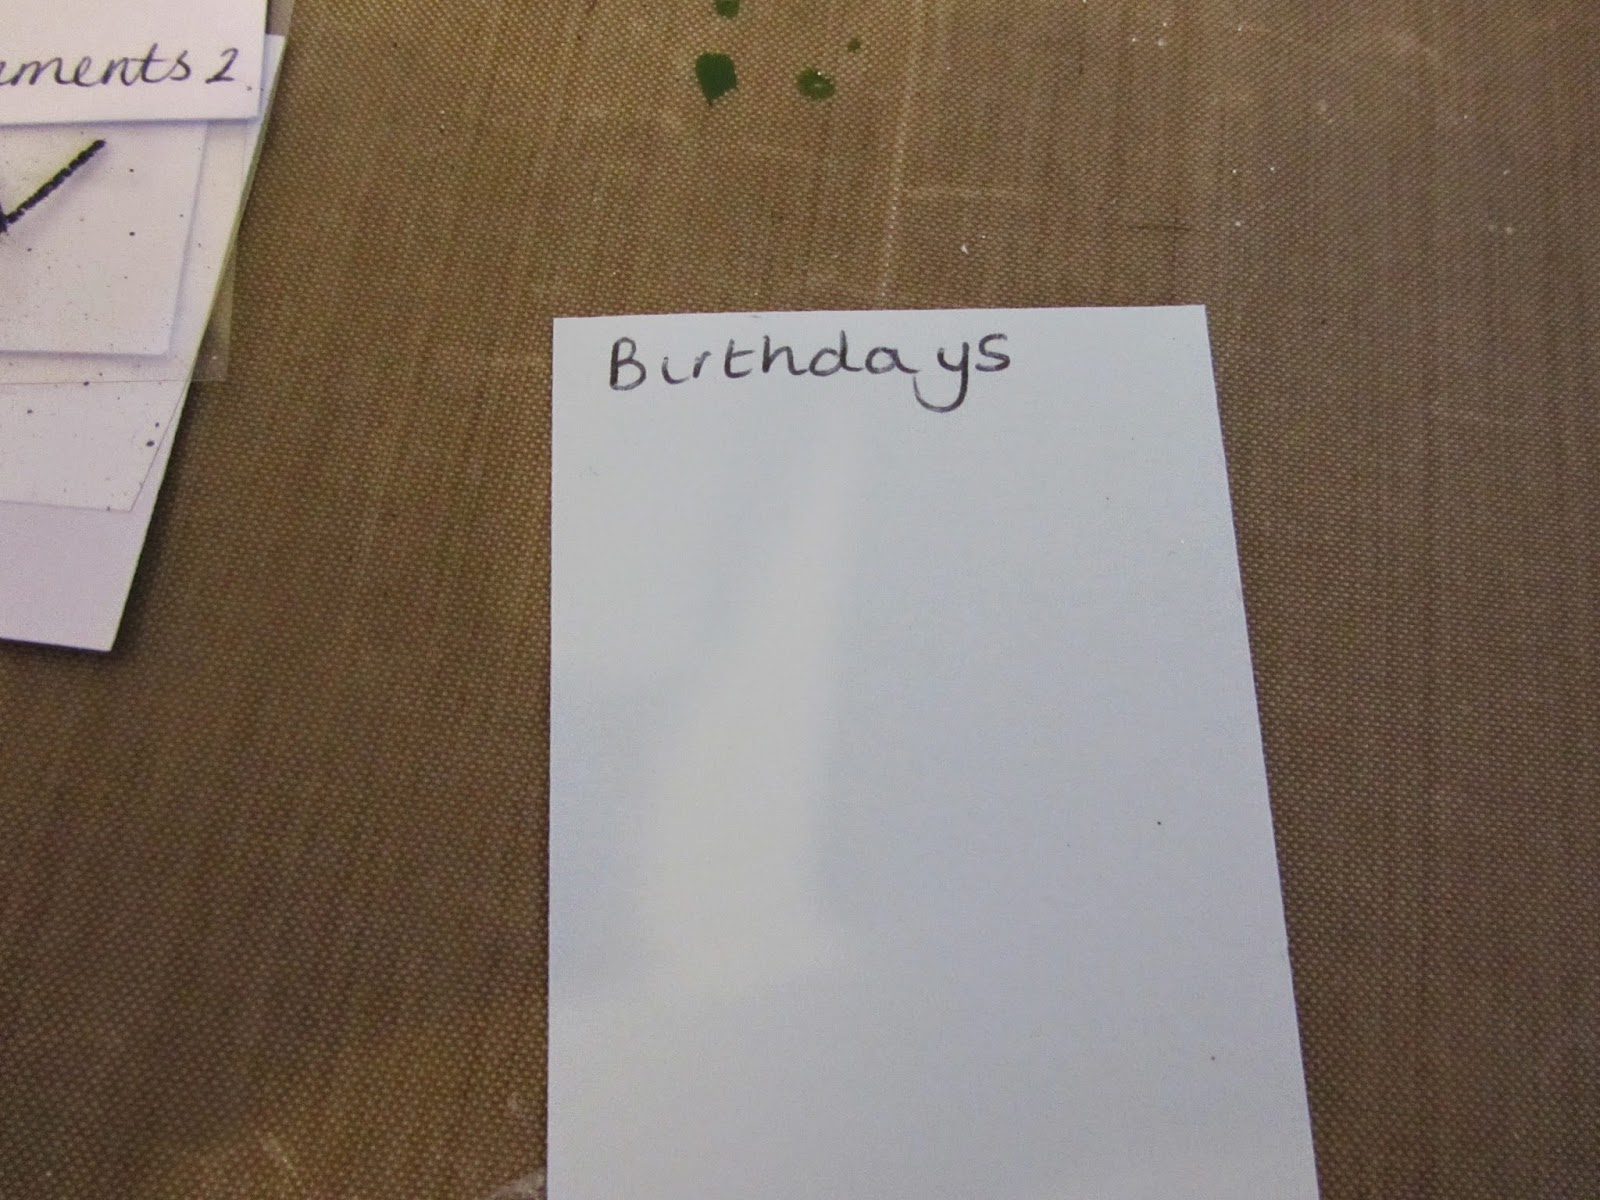
(As you can see, I don't have many layers yet as I am just starting this project!!) On the coloured sections of card, I wrote the 'theme' for my sentiments...
I then added my layers to the split ring. These are by far the best solution as they can easily be opened and added to.
So what do I now have - a set of reference cards if you like with all my sentiments (or at least I will do, once I'm finished.) I have tabs that allow me to go to the 'theme' of sentiment I am looking for, I have the sentiments on acetate so I can position them on a card to see how it looks and then I have the details of which stamp set this sentiment has come from. I can see this resource being invaluable to me.
This will be able to hang on a hook ready to act as a reference point.
Clearly not this one though - but as you know I am in my 'temporary' studio until we eventually begin converting our garage!!
I really hope you have found this helpful and is a resource you could see yourself using too.
As always, comments so very much appreciated.
Laura xx


No comments:
Post a Comment